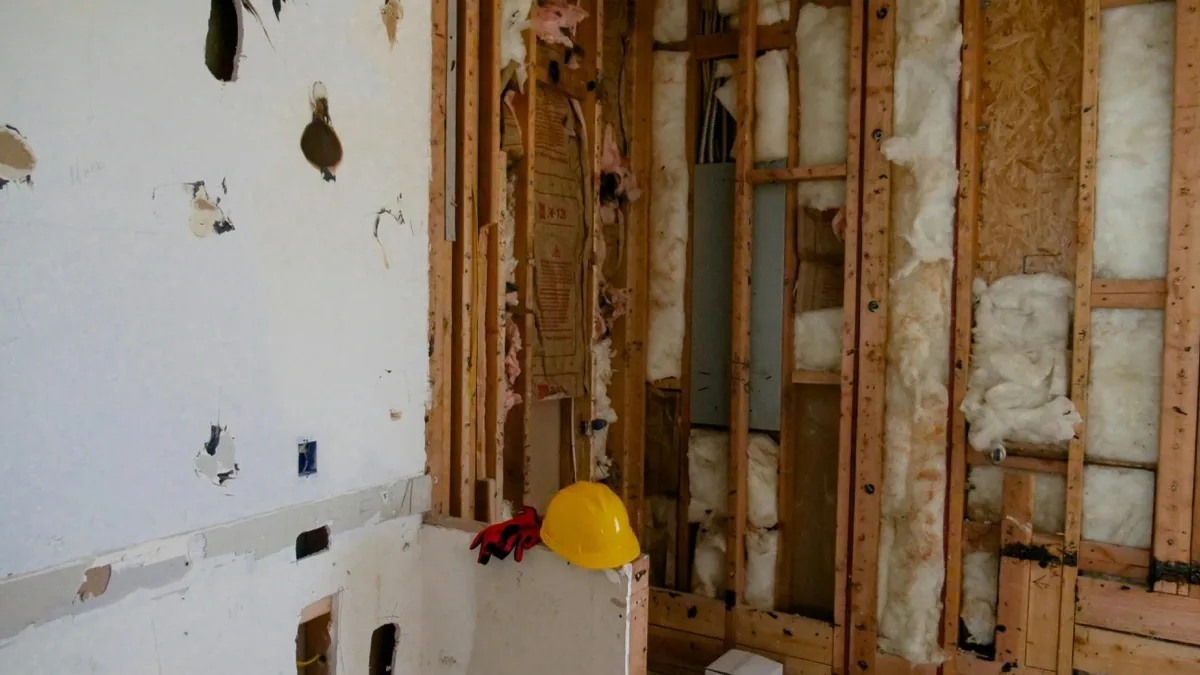
Assessing the Damage
Once the TV and bracket were off the wall, I stepped back and counted everything I was dealing with:
- Four lag bolt holes, each about 1/4 inch diameter, with crushed gypsum craters around the rim. Two were in studs, two were anchored into hollow drywall using heavy-duty toggle bolts.
- Six bracket arm screw holes, about #10 size, in various positions around the main mounting plate.
- Two compression dents from the back of the wall plate, each maybe an inch wide.
- One spot where my friend Felix had drilled a pilot hole in the wrong place during the original install, then we used drywall anchors to patch over it. The anchors had pulled partly through the drywall when we removed the bracket.
The Felix mistake was the worst spot. A pulled-through anchor leaves a hole that's larger than the original drywall face opening and has loose, crumbled gypsum around the edges. You can't just spackle over that. It needs real backing or it'll crack within a few months.
The Tools and Materials I Used
Nothing exotic. Most of this I already had in the basement:
- Lightweight spackling paste, half-empty tub from a previous project
- All-purpose joint compound, opened bucket from the basement project last fall
- Self-adhesive mesh patch, 4 inch square ($6 for a pack of three)
- 4-inch and 6-inch taping knives
- Mud pan
- 180-grit and 220-grit sanding sponges
- Damp rag for cleaning
- Primer (Zinsser BIN, leftover quart)
- Living room wall paint, leftover from the previous job
The self-adhesive mesh was the only thing I had to buy. Everything else was on hand. If you don't have leftover paint that matches your wall, that becomes the biggest cost, since matching old paint usually means buying a new gallon and accepting that the sheen will be slightly off until you repaint the whole wall.
Step One: Clean Everything
Before any compound went on the wall, I wiped the whole area down with a damp rag. Four years of dust had built up around the TV cutout, and there was a yellowish residue from a couple of plug-in air fresheners my wife had used at some point. Spackle and joint compound don't stick well to dirty surfaces. I learned this the hard way on a different project where I patched a kitchen wall without cleaning the cooking grease off first. The patch peeled within a month.
The TV area had cobwebs too. Felix had warned me when we did the install to leave a small access gap behind the bracket for cable management, and the gap had become a spider hotel. I cleaned it out, ran the vacuum hose along the baseboard, and let the wall dry for about 20 minutes before I started.
Step Two: The Pulled-Through Anchor
This was the part I dreaded. The hole was about 3/4 of an inch wide on the surface but flared out larger inside the wall cavity because the anchor wings had spread when we tried to back the screw out. The crumbled gypsum around the rim wouldn't hold any kind of patch by itself.
My approach:
- I cut the ragged edges back to clean drywall using a utility knife. This widened the hole to about an inch but gave me a stable edge.
- I cut a square of scrap drywall slightly larger than the hole.
- I threaded a length of string through a small hole in the center of the scrap piece, then inserted the scrap behind the wall opening at an angle so it slipped through the hole.
- I pulled the string taut to hold the scrap against the back of the existing wall, then ran a bead of construction adhesive around the rim where the scrap met the back of the drywall.
- I left the string under tension for two hours by tying it to a paint stick laid across the front of the hole.
Once the adhesive set, I cut the string flush, then filled the recessed front of the hole with two coats of all-purpose mud. This is the standard California patch or back-blocking technique, just adapted for a smaller hole. It would have been faster to use a metal patch kit, but I had the scrap drywall and the construction adhesive already on hand.
Step Three: The Lag Bolt Holes
Each lag bolt hole was 1/4 inch wide with crushed gypsum around the rim. Spackle alone wouldn't hold because the crater would just pull the patch slightly inward as it dried, leaving a divot.
For these I did a two-step process:
- First, I packed each hole with lightweight spackle, pressing it firmly with the corner of a putty knife to fill the cavity behind the surface. I overfilled slightly, then scraped flush.
- After the spackle dried (about 90 minutes for these), I sanded lightly with 220 grit and applied a thin skim of all-purpose joint compound over a 3-inch diameter circle around each hole. Feather to nothing at the edges.
The two-step approach handles the cratering problem. The spackle fills the depth, the joint compound smooths the surface and feathers into the surrounding wall. A single layer of either product alone leaves either a divot (spackle shrinks too much for a deep cavity) or a bump (compound applied too thick on uneven surface).
Step Four: The Smaller Screw Holes and Dents
The bracket arm screw holes were straightforward. I pushed lightweight spackle into each one with my fingertip, scraped flush, and let them dry. One coat was enough for the holes that didn't have crushed gypsum.
The compression dents were trickier. They weren't holes, just shallow concave areas where the wall plate had pressed into the drywall for years. The paper face was still intact, just deformed.
My neighbor Greta, who came over to drop off a kitchen tool she'd borrowed and ended up watching me work, suggested I try wetting the dents first to see if the paper would relax. I tried it on one dent: a damp sponge held against the depression for about a minute. The paper did relax some, but not enough to call it fixed. I ended up skim coating both dents with thin joint compound, feathering aggressively. The skim coat hid the dents completely.
Step Five: Sanding and Second Coat
I let everything dry overnight before sanding. Trying to sand compound that's not fully cured produces a smeared mess that fills sandpaper instantly. Patience here saves time later.
The next evening I sanded with 180 grit first to knock down high spots, then 220 grit to smooth. I used a sanding sponge instead of a block because the wall has very subtle texture, and a flat block tends to remove the texture and create a flat patch that shows up under lighting.
Some of the larger patches needed a second coat. The pulled-through anchor patch in particular had a small low spot where the first coat had shrunk slightly. I applied a thin second coat with the 6-inch knife, feathering wider than the first coat. Another overnight dry, another light sand the following evening.
Step Six: Priming and Painting
Patched drywall always needs primer before paint, even when the patch is small. Joint compound and spackle absorb paint differently than the surrounding wall paint, so without primer the patches show up as flat spots under different lighting. Zinsser BIN is what I had on hand. Any shellac-based or oil-based primer works. Water-based primers can also work but tend to raise the compound slightly and require more sanding.
I spot-primed each patch, let it dry for 30 minutes, then painted the whole wall section with a roller. Painting just the patches almost always leaves visible halos where the new paint meets the old. Rolling out to the nearest corner or natural break (like a window edge or a ceiling line) makes the repair invisible.
Total paint used was about a quart, since the living room wall is a long one. The result, two days later when the paint had fully cured, was a wall with no visible evidence that a TV had ever been mounted there.
What I Would Do Differently
If I had it to do over, the main thing I'd change is the original mounting decision. We used a fixed tilting bracket bolted into studs with lag bolts, which was structurally fine but created larger holes than necessary. A French cleat system mounted to a backer board would have left a single backer with smaller screw holes, which would have been a much easier repair.
The toggle bolts in hollow drywall were also unnecessary. The wall studs were 16 inches on center and the bracket spanned two studs cleanly. Using toggle bolts for the extra anchor points was insurance against the bracket flexing, but in practice the studs alone would have held a 65 inch TV fine. The two toggle bolt holes were the most damaging to repair because of how the wings expand inside the wall cavity.
If you're planning a TV mount install and there's any chance you'll want to take it down later, plan the install with the future repair in mind. Smaller screws, fewer penetrations, and stud-only mounting where possible. The wall will thank you when the time comes.