Why This Crack Forms
The ceiling-wall joint cracks because of movement, and the movement is normal. Your house is not failing.
Roof trusses flex seasonally. In winter, cold temperatures and moisture cause the outer chords of the truss to drop slightly while the interior chord rises. This is called truss uplift, and it's an engineered phenomenon documented by the American Institute of Timber Construction. The ceiling rises a fraction of an inch while the walls stay grounded. In a typical house, that movement is under a quarter inch, but joint compound has zero flexibility. It can't stretch. It cracks.
Even houses without trusses see this crack. The ceiling and wall are separate drywall panels joined with tape and compound. They're not monolithic. As temperature and humidity change through seasons, those panels expand and contract at slightly different rates. The tape holds them together, and the compound over the tape handles it for a while, and then it doesn't.
This is why you see the crack in the same location every time. It's not random. The joint is the weakest point mechanically, and seasonal movement opens it at exactly that spot every year.
What Doesn't Work
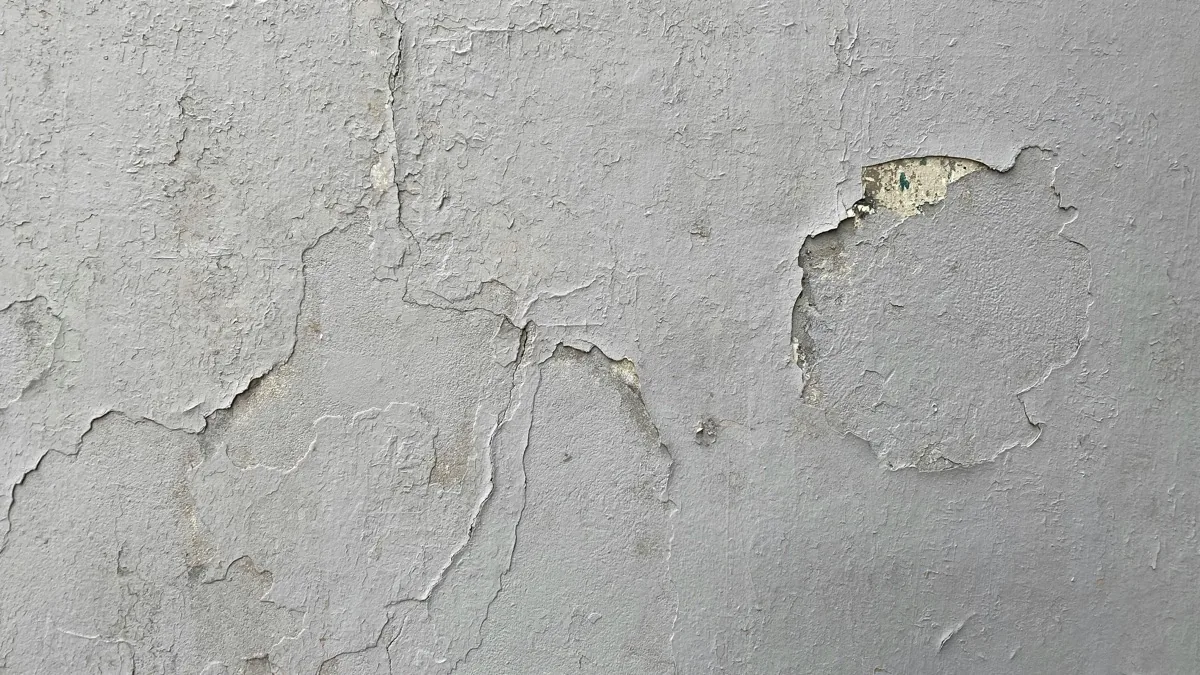
Filling with joint compound: doesn't work. I know because I did it twice. Standard all-purpose compound is rigid when dry. You get a good-looking fill, and then the next heating season opens it along the exact same line. Sometimes faster the second time because the previous compound has already micro-separated from the drywall paper at the edges.
A wider feather coat doesn't change anything. You're still using inflexible material. You're just spreading more of it.
Skim coating the whole corner: I watched someone online suggest this. The idea was that a broad skim over the whole transition zone would stabilize the joint. It won't. The movement happens at the joint itself. More compound on top doesn't fix the physics.
Painting over it without repairing: you can get through one or two paint jobs if the crack is small enough. At some point the paint bridges over a gap that then flexes and the paint cracks too. Not a recommendation, just an honest accounting of what I've tried.
The Fix That Actually Holds
Paintable latex caulk.
It sounds almost too simple after all those failed attempts with compound. But the logic is solid: caulk is flexible, this joint moves, and you need something that can move with it. When the ceiling lifts in February, the caulk stretches. When it comes back down in June, it compresses. No crack.
The process:
Remove the old compound from the crack. Don't build on top of failed material. Use a stiff putty knife to scrape out anything that's loose or crumbling. You want clean edges. For a typical hairline to eighth-inch crack, this is quick. For a wider crack, you may want to fill the deepest part with compound first, let it dry completely, then caulk over it. For most ceiling-wall cracks, caulk alone is enough.
Let the area dry fully before caulking, especially in a bathroom or a room that's had any moisture.
Apply a thin bead of paintable latex caulk. I use DAP Alex Plus. Run the bead along the full length of the crack, not just the visible part. Often the crack extends further than the paint shows. Smooth it with a damp finger into a slight concave profile. This helps paint cover the bead cleanly.
Cure 24 hours before painting. Prime and paint to match.
Products and What They Cost
DAP Alex Plus Paintable Caulk: $4.98 for a 4.5-ounce squeeze tube at Home Depot, or $6.48 for an 11-ounce cartridge if you have several cracks to do. It dries flexible, paintable within an hour, and fully cures in 24 hours. I've used this specific product three times now on different cracks and it's held every time.
GE Advanced Paintable Silicone ($8.97) is a step up and worth it in bathrooms or kitchens where there's ongoing moisture. For a standard bedroom or hallway ceiling crack, it's more than you need.
A stiff putty knife if you don't have one: $4-8. You want a rigid blade, not a flexible spreader. Total cost for a typical ceiling-wall crack repair: under $15 and about 30 minutes of actual work.
When to Look More Carefully
Most ceiling-wall cracks are cosmetic and caused by normal truss uplift or differential thermal expansion. But a few situations are worth more attention before you just caulk and move on.
A crack wider than a quarter inch is producing more movement than normal truss uplift. Something else is happening.
Multiple new cracks appearing in multiple rooms at the same time, especially if they're also showing up at window and door frames, suggests settling movement. Check whether any doors or windows in the area have started sticking or binding.
A crack that appeared suddenly after heavy rain or after a winter with heavy roof snow load could indicate a drainage or structural issue rather than seasonal expansion.
I'm not a structural engineer. My experience is with cosmetic and routine residential work. A single recurring hairline crack in one location is almost always seasonal movement. Multiple new cracks spreading through several rooms is a reason to get someone qualified to look at the structure before you start patching.
Painting After Caulk
One practical note Kevin added when I finally did it right: prime before the topcoat.
Some latex paints don't bond as well to cured caulk as they do to primed drywall. If you skip primer and go straight to finish paint, you can end up with a paint edge that peels along the caulk line within a year or two. Especially if the room gets temperature swings, the differential expansion between the paint and caulk does the same thing the compound cracks did, just to the paint.
Wait the full cure time on the caulk label, then apply a water-based primer over the caulked area before your finish coat. Takes ten minutes and is worth doing.
One other thing: caulk can look slightly different in sheen than surrounding wall paint under certain lighting, especially raking afternoon light. Eggshell and satin paints hide this better than flat. Our guest room is flat white and you can see a faint texture line if you stand at a particular angle in late afternoon. It doesn't bother me. The crack not being there bothers me way less than a visible paint line.