Why Repairing Bent Bead Doesn't Work
The first three times I damaged a corner bead in my own house, I tried to bend the metal back into shape and just skim more compound over it. The result every time was a slightly wavy corner that looked obviously repaired under any kind of side lighting. Metal corner bead is rolled to a specific 90-degree angle in the factory, and once you put a sharp dent in it, the metal will never sit flat against the corner again. You end up trying to compensate with thicker and thicker mud, which crowns the corner and makes it more visible, not less.
The right approach is to cut the damaged section completely out and patch in a new piece. The new bead sits at a true 90 degrees because it has never been deformed. The joint between old and new bead becomes invisible under two coats of compound. This is what professional drywall finishers do, and once I started doing it the same way my corner repairs stopped looking like repairs.
What I Bought for This Repair
The total bill for the kitchen corner came to about $24, and I already had most of the basic tools. The breakdown:
- Eight-foot stick of metal corner bead from Home Depot: $4.50 (I used about two feet of it)
- Small tub of all-purpose joint compound: $8.50
- Roll of paper joint tape: I had this on hand, normally $4
- Mesh patch for the small drywall gouges: $3
- Texture spray can to match the orange peel: $8
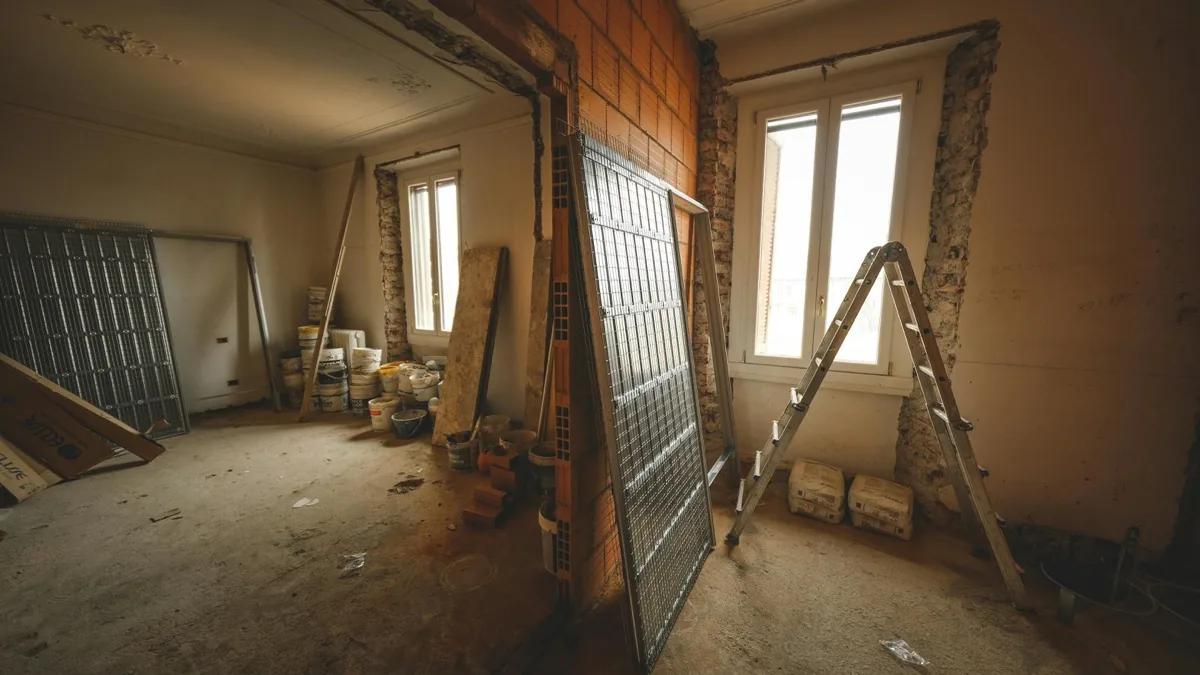
Tools I already owned: a tin snip for cutting the metal bead, a hacksaw for the final clean cut, a 6-inch taping knife, a 10-inch taping knife, a utility knife, a small bucket for water, and a sanding sponge. The hacksaw is the part most people skip and then regret because tin snips alone leave a ragged edge that won't sit flush.
Cutting Out the Damaged Section
I started by marking the damaged area with a pencil, extending the cut lines about three inches past the visible damage on both ends so I had clean metal to work with. The damage ran from about chest height down to my knee, so my cut zone covered roughly 22 inches of corner.
Using a hacksaw, I made horizontal cuts straight through the bead at both my marks. This is the part where patience matters. The blade tends to wander if you push too hard, and a crooked cut means a crooked patch. I let the saw do the work and went slow. Each cut took about a minute through the metal flanges and the dried mud behind them.
Once both ends were cut, I used a stiff putty knife to pry the damaged section away from the drywall. The metal came off easily, but it brought some of the paper face of the drywall with it. That's normal. Underneath, the corner of the drywall itself was mostly intact, with two small gouges where the couch leg had punched into the gypsum.
I scraped off all the loose compound, vacuumed the dust, and ended up with a clean 22-inch gap in the corner bead, ready for the new piece. The drywall corner underneath was a little chewed up but not structurally damaged.
Fitting and Securing the New Bead
The new piece needed to be exactly the right length. Too short and there's a visible gap, too long and it overlaps the existing bead and creates a hump. I held my piece of bead up to the opening, marked the length with a pencil, and cut it with the hacksaw rather than the tin snips. The hacksaw gives a square cut. The snips would have left me with a slightly diagonal end that wouldn't butt cleanly against the existing bead.
I dry-fit the new piece three times before I was happy with the length. Each test fit, I checked for two things: that the ends butted flush against the existing bead without gaps, and that the angle of the new bead matched the existing corner without sticking out further or sitting back. Patio chairs and minor wall framing variations mean corners are rarely perfectly straight, so I needed to make sure the new piece followed the angle of the wall, not a theoretical 90 degrees.
For the small gouges in the drywall underneath, I cut a piece of mesh patch tape, pressed it over each gouge, and added a thin coat of joint compound to fill the depressions. This dried while I worked on the bead.
To attach the new bead, I had two options. Modern guidance often calls for setting bead in joint compound rather than nailing or screwing it. I went with compound for this repair because nail penetrations on a kitchen corner are more visible than a smooth glued joint. I buttered a thin layer of all-purpose mud onto the back flanges of the bead, pressed it firmly into place, and held it for about 30 seconds while the suction grabbed. Then I added two drywall screws into each flange at the top and bottom to hold it while the compound dried overnight.
The Mud Coats: Where People Lose Patience
Outside corner finishing is all about feathering the compound out wide enough that the transition from raised corner to flat wall is invisible. The temptation is to fill everything in one heavy coat. That's how you get visible hump marks and cracking. Multiple thin coats are slower but actually faster, because each coat dries in a few hours and you don't have to come back later to fix problems.
The first coat went on the next morning. I used a 6-inch knife and ran it down one side of the corner with the blade angled so one edge rode on the corner bead and the other edge rode on the flat wall. This automatically feathered the compound from the high point at the bead down to the wall surface. I did the same thing on the other side of the corner. The first coat was just about filling the recess between the bead and the wall and locking the bead in place. It looked rough and you could still see the bead edge clearly.
I let it dry for about four hours, then knocked off any high spots with a putty knife (skipping the sandpaper at this stage) and applied a second coat with a 10-inch knife. This coat extended further out from the corner, maybe four inches on each side, blending the previous coat into the surrounding wall. The wider knife rides on more wall surface, which keeps the compound flat and prevents the wavy look that narrow knives create.
After another overnight dry, I applied a third coat with the 10-inch knife, this time mostly for surface smoothness rather than filling. Thin, almost translucent layer. The goal at this point was a glass-smooth surface that would sand to invisibility.
Sanding and Texture Matching
Sanding took maybe ten minutes. I used a sanding sponge rather than a pole sander because the area was small and the sponge gives me better control around the corner itself. I went with a medium grit first to knock down the high spots and finished with fine grit to smooth the transitions. The trick on corner repairs is to feel with your fingertips, not just look. A finger run across the corner picks up bumps that the eye misses. Anywhere I felt a transition, I sanded a few more passes.
The original wall had a light orange peel texture, which is the easiest type to match because the spatter is small and forgiving. I masked off the surrounding area with painter's tape and paper, shook the texture can hard, and did three light test sprays on a piece of cardboard until the droplet size matched what was already on the wall. Then I sprayed the patched area in quick passes, holding the can about 18 inches from the wall and moving across the corner in short bursts.
Orange peel texture from a can never matches perfectly on the first try. I sprayed too light first, let it dry, looked at it from a low angle in side light, and added a second pass to fill in spots that were too sparse. After the texture dried completely, I primed and painted the repaired area, feathering the paint about a foot past the repair zone on each wall to blend the new paint into the existing surface.
Brendan came over two weeks later and I made him try to find the repair. He pointed at a different corner three feet away. That was a good day.
What I'd Tell Anyone Doing This for the First Time
If you've never replaced corner bead before, the part that's going to trip you up is the cutting. Mark your cut lines further from the damage than you think you need. The first time I did this kind of repair I cut too close to the damaged section and discovered that the bead a few inches past the visible dent was also slightly bent. I had to extend the cut and redo it, wasting another foot of new bead.
Buy more bead than you need. An eight-foot stick is cheap. Cutting too short on your first attempt and having nothing to fall back on means another trip to the store, which is more annoying than buying extra material upfront.
Don't skip the second coat with the wider knife. Every repaired corner I've seen that looks obviously repaired was finished with one knife and one heavy coat. The wide knife pulls the compound flat across a bigger area, which is what makes the repair disappear.
And give yourself the four days. You can rush it into two days by using hot mud instead of all-purpose, but the texture match and paint blending really do need time to dry between steps if you want the finished result to be invisible. Sliding a couch back into the hallway while the paint is still tacky undoes the whole project.