What Makes Attic Knee Walls Different
Most of the drywall I've installed is interior work where temperature is controlled and the assemblies are simple. Knee walls are exterior walls, and that distinction changes everything about how you approach the job.
Extreme temperature swings. Unfinished attic spaces hit 130°F in summer in Ohio. They drop below freezing in winter. The wall assembly has to manage that thermal boundary without trapping moisture or moving enough to crack the drywall.
Insulation requirements. These walls need to be insulated to current energy code before you close them. In most Midwest states that's R-19 or R-21 batts for 2x6 framing, or R-13 to R-15 for 2x4. Your local building department can tell you what applies to your house. Whatever it is, get it right before the drywall goes up.
Vapor control. In cold climates, moisture moves from inside to outside in winter. You want a vapor barrier on the warm side of the insulation, which in a heated room means the interior face of the wall, directly behind the drywall. Get this wrong and over several years you'll develop condensation in the wall cavity.
Tight access. Working in front of a knee wall usually means hunching, kneeling, or reaching at awkward angles. Maneuvering a full 4x8 sheet in some of these spaces isn't realistic.
Materials
For a standard knee wall conversion:
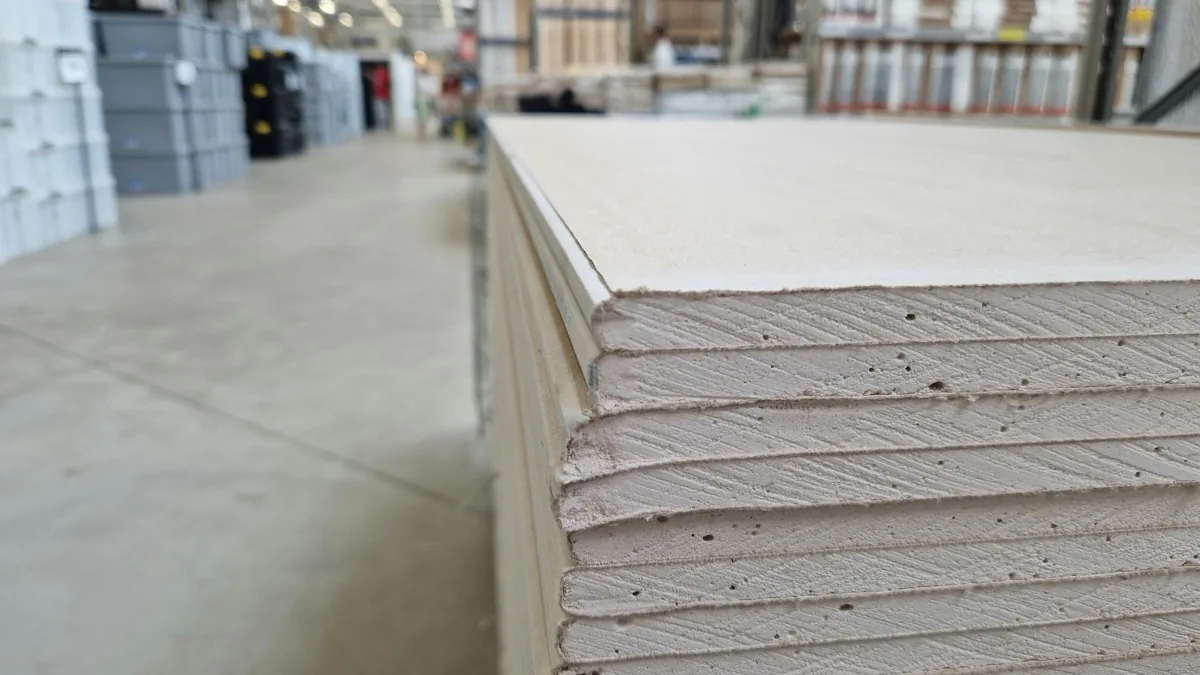
- 1/2" drywall for walls; 5/8" if fire rating applies (attached garage adjacent, etc.)
- Moisture-resistant drywall as an upgrade if the space has any history of humidity or leaking
- 6-mil polyethylene sheeting for vapor barrier
- Staple gun and 6" staples
- Housewrap tape to seal vapor barrier seams
- Insulation batts matched to your framing depth
- 1-5/8" coarse-thread drywall screws
- Drywall tape and all-purpose compound
- Utility knife, drywall T-square, screw gun, bevel square or angle finder
On my last knee wall project (about 120 square feet), materials for the drywall and finishing work ran around $210 before the insulation, which I'd already bought separately.
Step 1: Insulation and Vapor Barrier
Do this before anything else. There is no adding insulation to a closed wall without tearing out drywall later.
Press insulation batts snugly between studs with the paper face toward the interior of the room. Don't compress the batts to fit a cavity that's too narrow. Compression reduces R-value. If the batt is too thick for your framing, trim it down to fit without crushing it.
Once insulation is in, staple 6-mil poly sheeting across the entire interior face of the framing. Overlap any seams by at least 12 inches and tape them with housewrap tape. The vapor barrier needs to be continuous. Any gap is a potential condensation point over the life of the house.
Hot-Humid Climates Are Different
If you're in Houston, south Florida, or a similar hot-humid climate zone, the vapor drive reverses in summer. Moisture pushes inward rather than outward. A poly vapor barrier on the interior side can trap moisture in that climate and cause the same problems it's meant to prevent. Check your local energy code or consult a building professional before installing vapor control in these regions. The approach for Ohio does not translate directly to Texas.
Step 2: Hang the Drywall
Measure the wall height and cut sheets to fit. Most knee walls are 48 inches or less, which means a single row of horizontal sheets. Taller knee walls may need two rows; stagger vertical seams by at least one stud bay when that's the case.
In tight spaces, cut full sheets into half-sheets (4x4 panels) before carrying them up. Two 4x4 panels are far easier to position and fasten when you can't stand upright or swing a panel into position.
Screw at 12" on center in the field and 8" along edges where panels meet. Temperature swings in attic spaces cause seasonal movement in framing, and under-fastened drywall develops screw pops over time. More screws are your friend here.
Step 3: Handle the Ceiling Angle
Where the top of the knee wall meets the angled ceiling, the two planes intersect at your roof pitch. If you hang both panels square, you get a gap at the intersection. The cleaner approach is to bevel-cut the top edge of the wall panel to match the ceiling angle.
Measure the angle with a bevel square. For a 6/12 roof pitch (common in Midwest residential construction), the cut angle is about 26.5 degrees. Set your circular saw to that bevel and cut the top edge of the wall panel before you hang it.
If the fit isn't clean enough for a tight joint, use setting-type compound (hot mud) to fill the transition. Hot mud doesn't shrink as it cures, which makes it better than all-purpose compound for gaps wider than about 1/8".
Step 4: Tape, Finish, and Paint
The finishing process is standard: paper tape embedded in first coat of compound, two more coats feathered wider each time, light sanding between coats. Attic drywall doesn't require anything special here.
One thing to watch: if you're working during summer in a hot attic, compound can dry faster than ideal. Cracks can form in fresh tape before it fully embeds. Work in the morning or evening when the space is cooler, and run a fan if you have access to one.
Prime with PVA drywall primer before painting. Attic spaces are porous environments and flashing, where the compound absorbs paint differently than the paper face, is a real risk without a proper sealing coat. Eggshell or satin paint also holds up better than flat in knee wall areas that see boxes and stored items scraping past them.